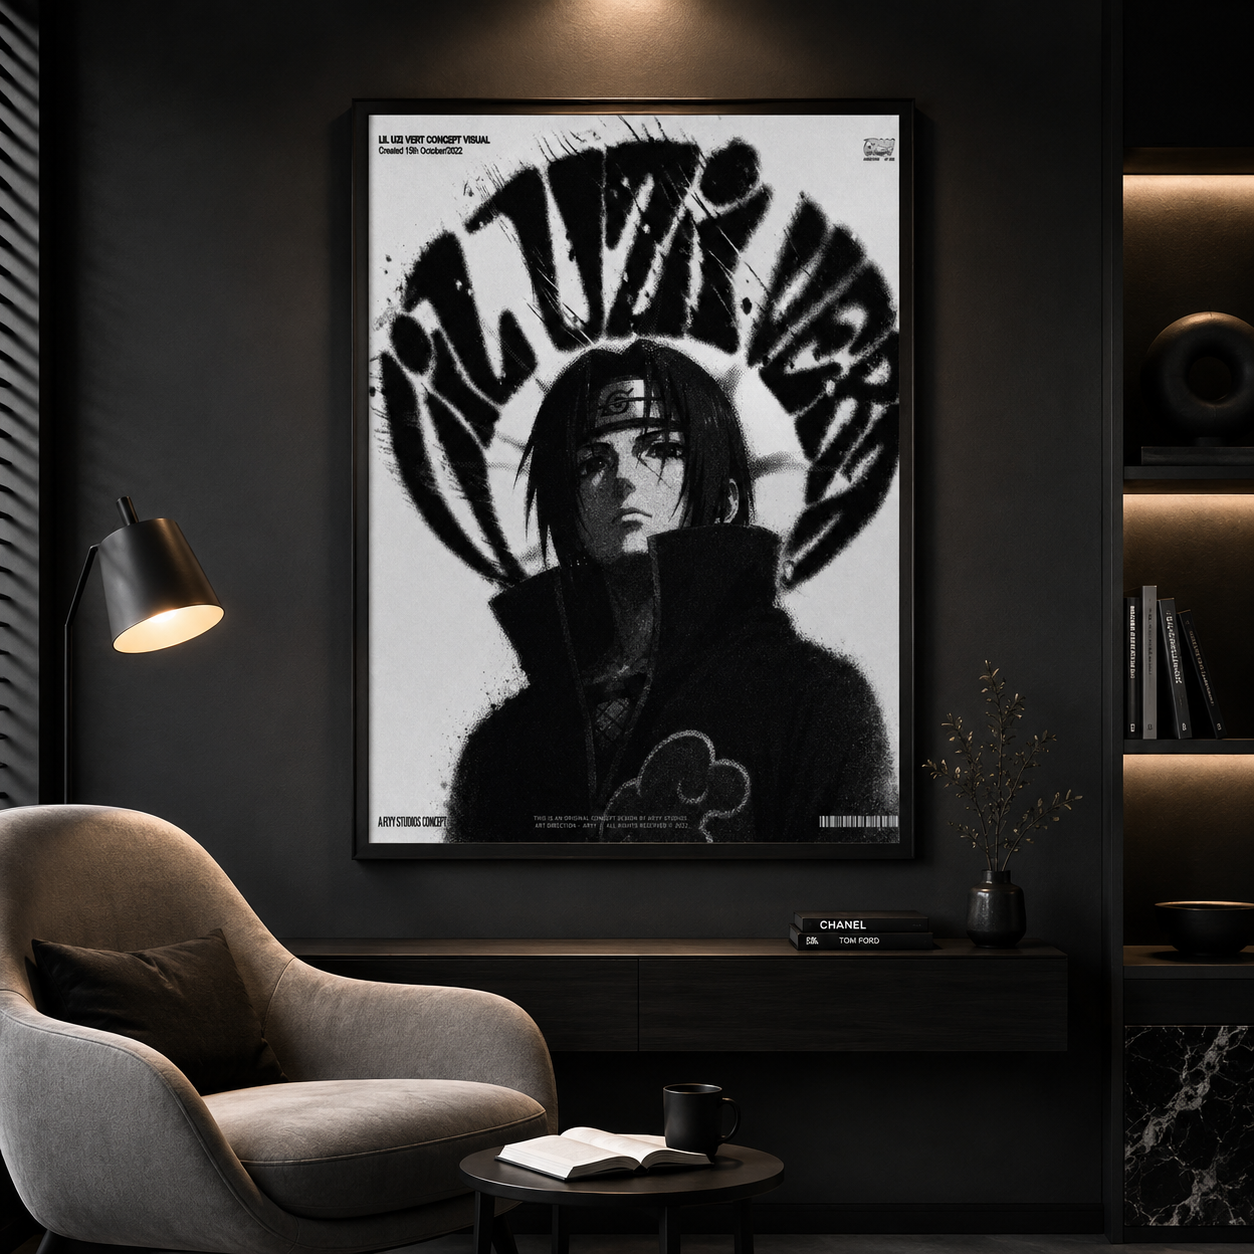

A listening corner does not need a large room, expensive furniture, or a wall covered from edge to edge. It needs one clear visual anchor, a comfortable place to sit, and a few objects that make pressing play feel intentional. For a compact bedroom, dorm, or studio, a single music poster can establish the mood without creating clutter.
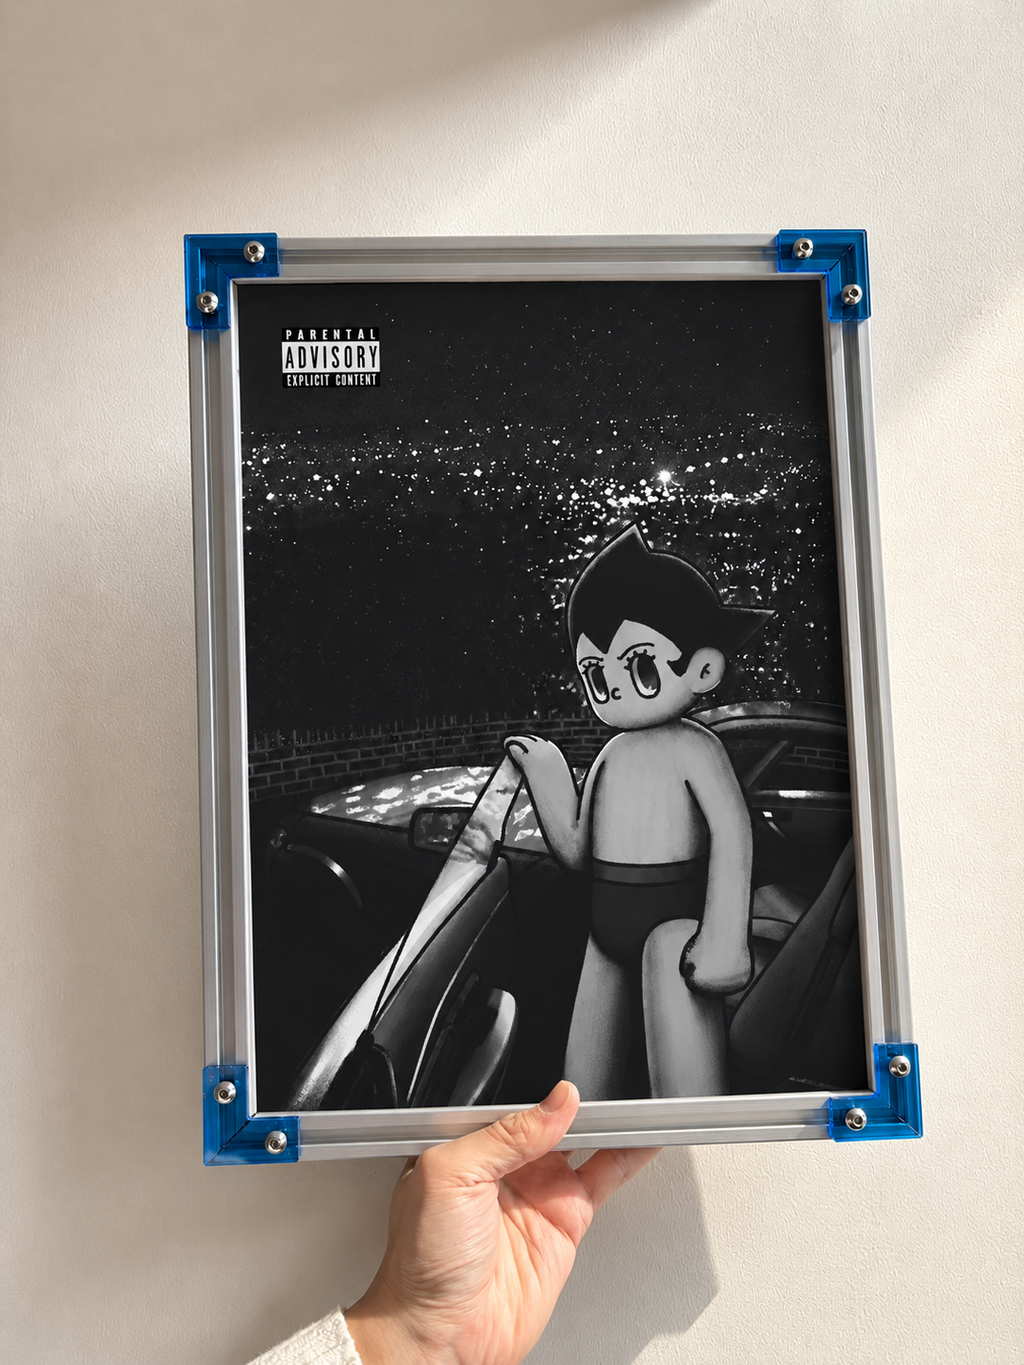
This guide uses the dark green, nostalgic illustrated look of the Frank Ocean Nostalgia Ultra Astro Boy poster as a practical example. The goal is not to copy a showroom. It is to build a personal corner that works with the furniture, light, and space you already have.
Start with the purpose of the corner
Before choosing a poster size or frame color, decide what you will actually do in the space. A listening corner might be a chair beside a small speaker, the end of a bed near a record shelf, or a section of a desk used for headphones and playlists. Defining the activity first prevents decorative pieces from spreading into unrelated parts of the room.
Choose one surface as the visual boundary. That might be the wall above a chair, the area behind a turntable, or the narrow wall beside a desk. Keeping the arrangement inside one zone makes even a small setup feel deliberate.
Let one poster become the anchor
An anchor is the first object your eye notices. In a compact room, one strong image usually gives the corner more clarity than several unrelated prints. The featured design combines Nostalgia, Ultra and Astro Boy elements in a dark green palette with an illustrated, nostalgic character. Those details give you a useful direction for the rest of the corner without requiring matching merchandise.
Place the poster near the center of the zone rather than the center of the entire wall. If the listening chair sits off to one side, align the art with the chair or the small table beside it. This connects the wall art to the activity below it and avoids the floating look that can happen when a poster is positioned according to the room alone.
Use the artwork as a color reference
Pull only one or two supporting tones from the image. Dark green can appear again in a cushion, storage box, or plant pot. A neutral such as black, warm white, natural wood, or brushed metal can handle the larger furniture pieces. Repeating every color in the poster can feel overly coordinated; a small echo is enough.
Choose the size by viewing distance
The featured poster is available in four standard sizes: 20×30 cm / 8×12 in, 30×40 cm / 12×16 in, 40×60 cm / 16×24 in, and 50×70 cm / 20×28 in. The best choice depends on how far away you will normally see it and how much empty wall surrounds it.
- 20×30 cm / 8×12 in: useful for a shelf-level display, a narrow wall, or a corner viewed from close range.
- 30×40 cm / 12×16 in: a balanced option above a desk, small cabinet, or compact listening chair.
- 40×60 cm / 16×24 in: better when the poster needs to hold attention from across a bedroom or studio.
- 50×70 cm / 20×28 in: suited to a broader blank wall where the artwork will be the main statement.
Use removable paper or painter’s tape to mark the outer dimensions on the wall before ordering or framing. View the outline while sitting in the listening position, then again from the doorway. The right size should feel connected to the furniture below it while leaving visible breathing room. For a closer comparison, see the lxzart poster size guide.
Frame the poster for the room you have
The poster is sold unframed and the frame is not included. That gives you control over the finished look. A thin black frame creates a clean boundary around the dark green artwork. Natural wood softens the illustrated design and works well with warm lamps or wood shelving. A white frame gives more separation on a dark wall, while metal can suit a desk setup with visible audio equipment.
Choose a frame that matches the print dimensions. If you use a mat, check both the outer frame size and the opening size so important parts of the artwork remain visible. Keep the frame treatment simple when the poster itself already has a detailed composition.
Build the listening layer below the art
Once the anchor is placed, add only the objects that support listening. A chair or floor cushion establishes where to sit. A small table can hold headphones, a record sleeve, or a drink. Speakers should follow their own placement requirements rather than being moved only for symmetry.
Control visual noise
Cables, chargers, and unrelated desk items can weaken the effect more than an empty patch of wall. Group cables behind furniture, place small accessories in one tray, and leave part of the surface clear. Negative space is not unfinished space; it helps the poster and listening equipment read as one composed area.
Add soft, indirect light
Use a shaded table lamp, wall light, or indirect LED placed away from the print surface. The aim is comfortable ambient light, not a bright hotspot or glare across the artwork. Check the corner both during the day and at night because a frame and dark palette can behave differently under each light source.
Understand the print before displaying it
The featured design is a premium non-woven fabric poster print with a smooth texture. The product page describes the material as water-resistant, scratch-resistant, durable, and less likely to tear than standard paper posters. Water-resistant does not mean that the print should be soaked or displayed in a damp area. Keep it away from direct moisture and handle it with clean, dry hands.
The poster ships rolled inside a protective white PVC tube to help reduce creases, edge damage, and shipping wear. When it arrives, unroll it carefully on a clean, flat surface and allow it to relax before framing. Avoid forcing tight bends in the opposite direction.
Know when to add a second print
Live with the single-poster arrangement before expanding it. If the wall still feels empty after the chair, light, and audio setup are in place, a second print can balance the zone. Match either the dimensions, frame finish, or visual intensity—not necessarily all three.
If you want to compare related illustrated concepts, browse the Anime × Album Cover poster collection. Keeping the first poster as the dominant anchor will preserve the calm listening-corner effect even if you add another piece later.
Final setup checklist
- Define one listening activity and one wall zone.
- Align the poster with the furniture below it.
- Test the dimensions on the wall before choosing a size.
- Select a frame that matches the print size; frame not included.
- Repeat one or two artwork colors, not the entire palette.
- Use indirect light and keep cables visually controlled.
- Leave enough empty space for the corner to breathe.
Frequently asked questions
Is the Frank Ocean Nostalgia Ultra Astro Boy poster framed?
No. It is sold unframed, and the frame is not included. You can pair it with a black, white, wood, or metal frame that matches the selected print size.
Which sizes are available?
The available sizes are 20×30 cm / 8×12 in, 30×40 cm / 12×16 in, 40×60 cm / 16×24 in, and 50×70 cm / 20×28 in.
Is the poster waterproof?
The product page describes the premium non-woven fabric as water-resistant, not fully waterproof. Keep the print away from soaking, high humidity, and direct contact with liquids.
How is the poster packaged?
It ships rolled inside a protective white PVC tube designed to help reduce creases, damaged edges, and shipping wear.
Create your own music corner
Start with the wall you already have, choose a scale that fits the furniture below it, and let one image set the tone. Explore lxzart music wall art when you are ready to choose the visual anchor for your listening space.